AWX Operator
Purpose: Deploying a Rancher RKE2 Cluster-based Ansible AWX Operator server. This can scale to a larger more enterprise environment if needed.
Note
This document assumes you are running Ubuntu Server 22.04 or later with at least 16GB of memory, 8 CPU cores, and 64GB of storage.
Deploy Rancher RKE2 Cluster
You will need to deploy a Rancher RKE2 Cluster on an Ubuntu Server-based virtual machine. After this phase, you can focus on the Ansible AWX-specific deployment. A single ControlPlane node is all you need to set up AWX, additional infrastructure can be added after-the-fact.
Checkpoint/Snapshot Reminder
If this is a virtual machine, after deploying the RKE2 cluster and validating it functions, now would be the best time to take a checkpoint / snapshot of the VM before moving forward, in case you need to perform rollbacks of the server(s) if you accidentally misconfigure something during deployment.
Server Configuration
The AWX deployment will consist of 3 yaml files that configure the containers for AWX as well as the NGINX ingress networking-side of things. You will need all of them in the same folder for the deployment to be successful. For the purpose of this example, we will put all of them into a folder located at /awx.
We need to increase filesystem access limits: Temporarily Set the Limits Now:
Permanently Set the Limits for Later:
# <End of File>
fs.inotify.max_user_watches = 524288
fs.inotify.max_user_instances = 512
Apply the Settings:
Create AWX Deployment Donfiguration Files
You will need to create these files all in the same directory using the content of the examples below. Be sure to replace values such as the spec.host=awx.bunny-lab.io in the awx-ingress.yml file to a hostname you can point a DNS server / record to.
Ensure the Kubernetes Cluster is Ready
Check that the status of the cluster is ready by running the following commands, it should appear similar to the Rancher RKE2 Example:
Ensure the Timezone / Date is Accurate
You want to make sure that the Kubernetes environment and Node itself have accurate time for a number of reasons, least of which, is if you are using Ansible with Kubernetes authentication, if the date/time is inaccurate, things will not work correctly.
Deploy AWX using Kustomize
Now it is time to tell Kubernetes to read the configuration files using Kustomize (built-in to newer versions of Kubernetes) to deploy AWX into the cluster.
Be Patient
The AWX deployment process can take a while. Use the commands in the Troubleshooting section if you want to track the progress after running the commands below.
If you get an error that looks like the below, re-run the kubectl apply -k . command a second time after waiting about 10 seconds. The second time the error should be gone.
error: resource mapping not found for name: "awx" namespace: "awx" from ".": no matches for kind "AWX" in version "awx.ansible.com/v1beta1"
ensure CRDs are installed first
To check on the progress of the deployment, you can run the following command: kubectl get pods -n awx You will know that AWX is ready to be accessed in the next step if the output looks like below:
Be Patient - Wait 20 Minutes
The process may take a while to spin up AWX, postgresql, redis, and other workloads necessary for AWX to function. Depending on the speed of the server, it may take between 5 and 20 minutes for AWX to be ready to connect to. You can watch the progress via the CLI commands listed above, or directly on Rancher's WebUI at https://rancher.bunny-lab.io.
Access the AWX WebUI behind Ingress Controller
After you have deployed AWX into the cluster, it will not be immediately accessible to the host's network (such as your personal computer) unless you set up a DNS record pointing to it. In the example above, you would have an A or CNAME DNS record pointing to the internal IP address of the Rancher RKE2 Cluster host.
The RKE2 Cluster will translate awx.bunny-lab.io to the AWX web-service container(s) automatically due to having an internal Reverse Proxy within the Kubernetes Cluster. SSL certificates generated within Kubernetes/Rancher RKE2 are not covered in this documentation, but suffice to say, the AWX server can be configured on behind another reverse proxy such as Traefik or via Cert-Manager / JetStack. The process of setting this up goes outside the scope of this document.
Traefik Implementation
If you want to put this behind traefik, you will need a slightly unique traefik configuration file, seen below, to effectively transparently passthrough traffic into the RKE2 Cluster's reverse proxy.
tcp:
  routers:
    awx-tcp-router:
      rule: "HostSNI(`awx.bunny-lab.io`)"
      entryPoints: ["websecure"]
      service: awx-nginx-service
      tls:
        passthrough: true
#      middlewares:
#        - auth-bunny-lab-io  # Referencing the Keycloak Server

  services:
    awx-nginx-service:
      loadBalancer:
        servers:
          - address: "192.168.3.10:443"
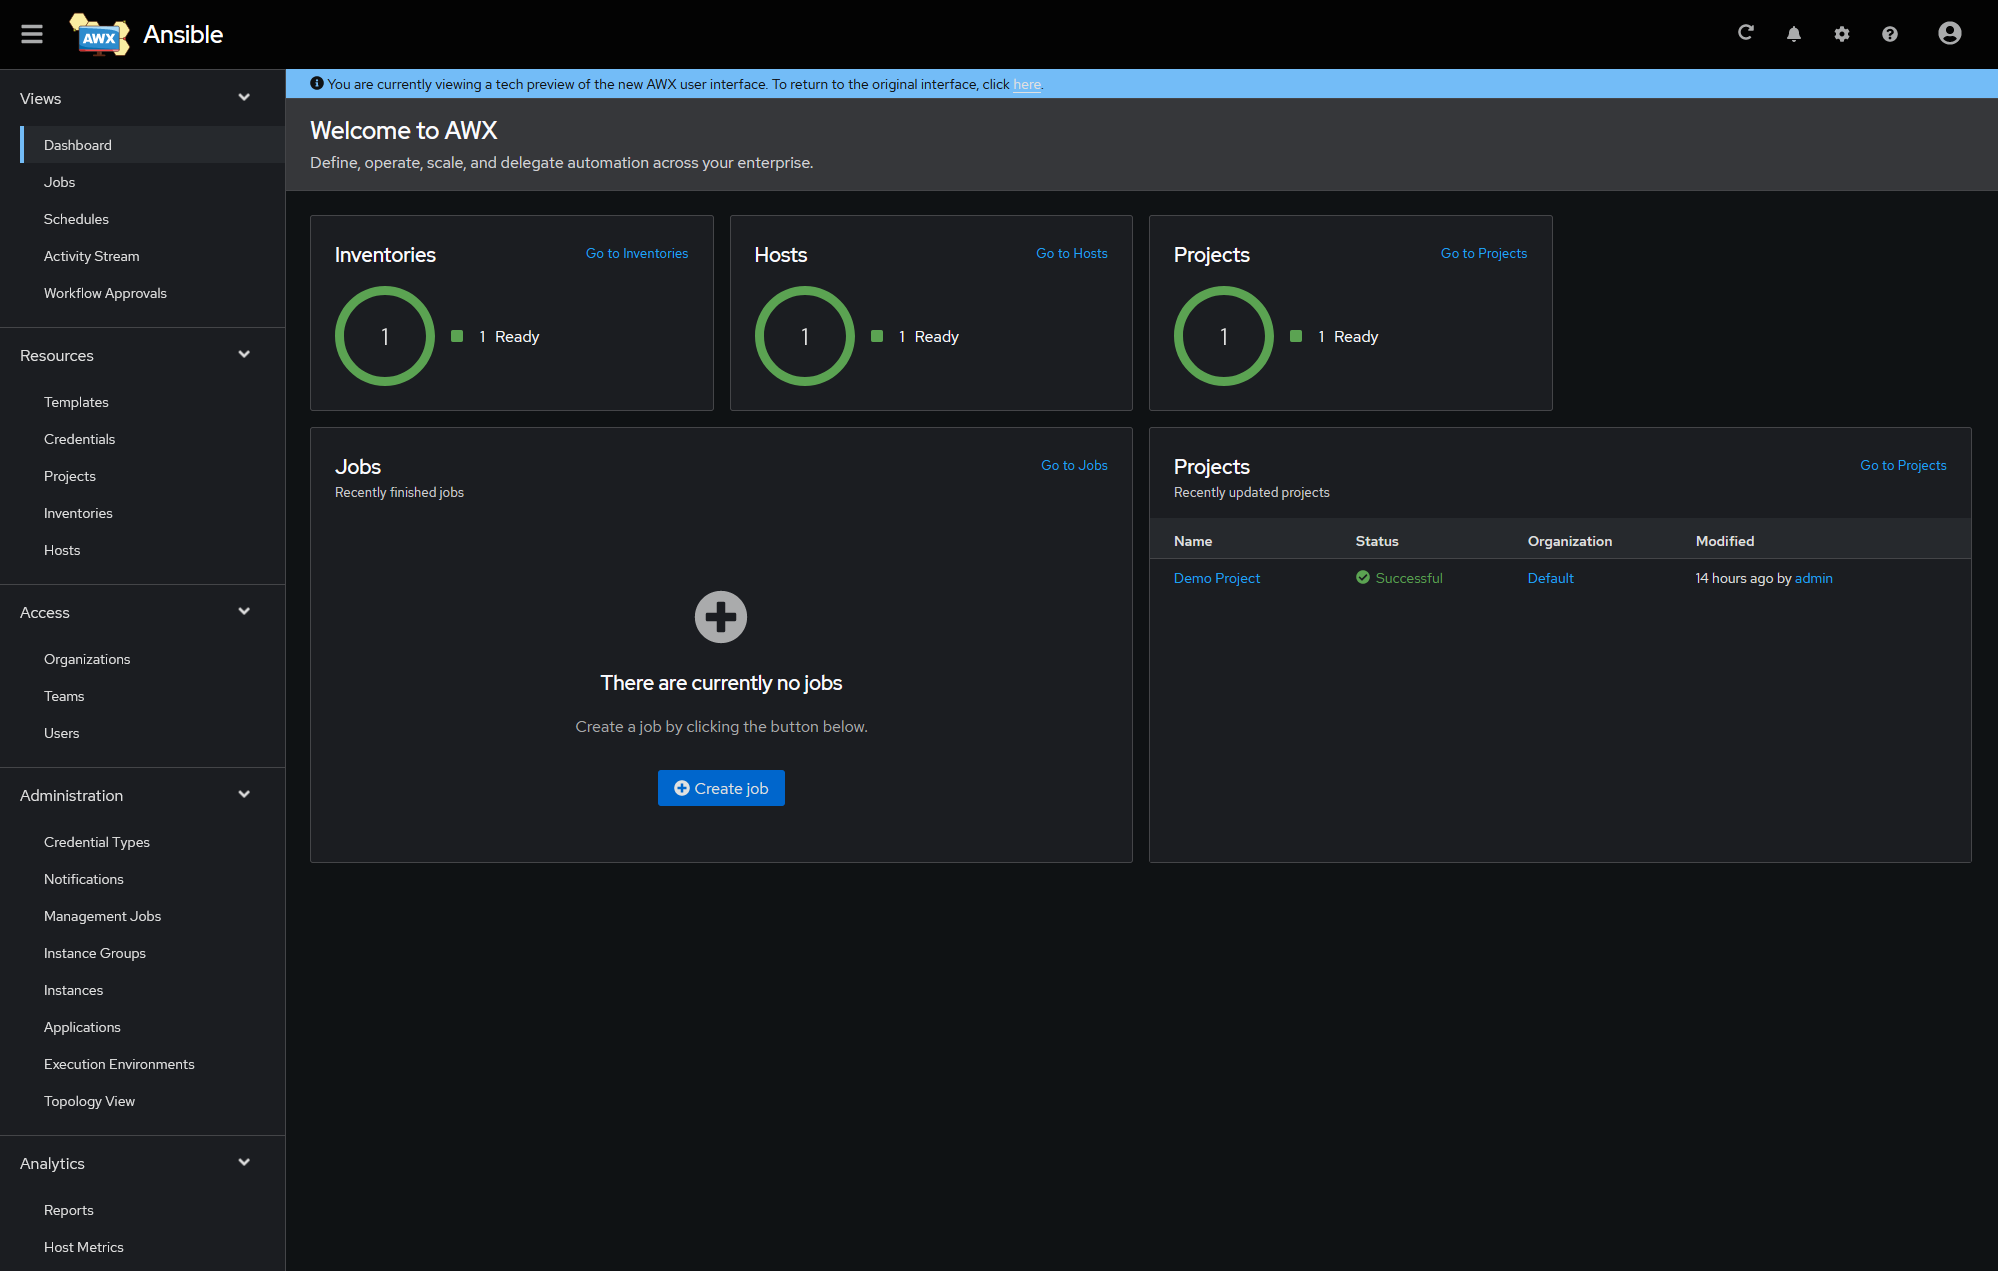
Accessing the AWX WebUI
If you have gotten this far, you should now be able to access AWX via the WebUI and log in.
- AWX WebUI: https://awx.bunny-lab.io
 You may see a prompt about "AWX is currently upgrading. This page will refresh when complete". Be patient, let it finish. When it's done, it will take you to a login page. AWX will generate its own secure password the first time you set up AWX. Username is
 admin. You can run the following command to retrieve the password:
Change Admin Password
You will want to change the admin password straight-away. Use the following navigation structure to find where to change the password:
graph LR
    A[AWX Dashboard] --> B[Access]
    B --> C[Users]
    C --> D[admin]
    D --> E[Edit]
Troubleshooting
You may wish to want to track the deployment process to verify that it is actually doing something. There are a few Kubernetes commands that can assist with this listed below.
AWX-Manager Deployment Logs
You may want to track the internal logs of the awx-manager container which is responsible for the majority of the automated deployment of AWX. You can do so by running the command below.
Note
The -6c58d59d97-qj2n2 noted at the end of the Kubernetes "Pod" mentioned in the command above is randomized. You will need to change it based on the name shown when running the kubectl get pods -n awx command.